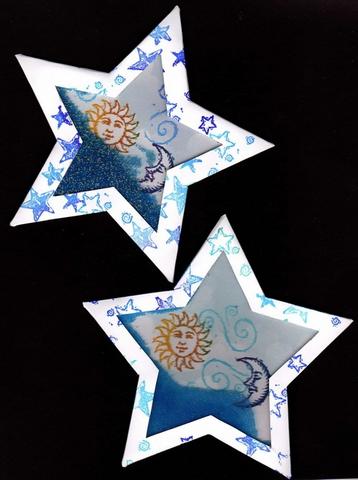
Star Shaker Card

By Brian & Suzanne Glazier

Supply List:
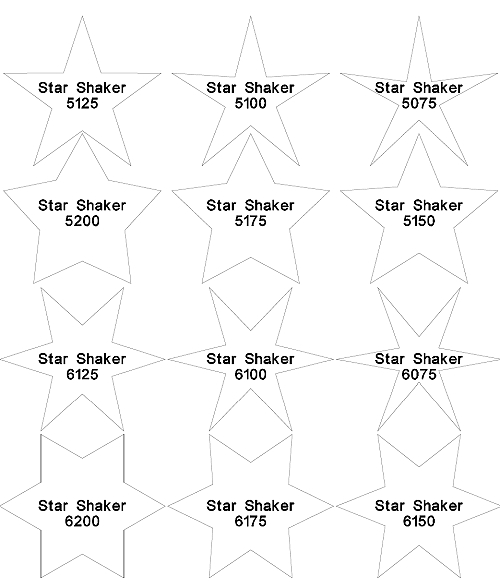
- Template (see below) - cut out of cardstock
- Square of acetate/transparency and Square cardstock. The size depends on the size of your template - these need to be about 1/2" larger than the opening of the window in the template.
- Stamps & Inks
- Double Sided Foam Tape
- O'So Sticky Double Sided Adhesive
- Glass Micro Beads

By Annette Lanker


Downloadable List: starshakerindex.pdf
Please click on the PDF templates below.
starshaker5075.pdf
starshaker5100.pdf
starshaker5125.pdf
starshaker5150.pdf
starshaker5175.pdf
starshaker5200.pdf
starshaker6075.pdf
starshaker6100.pdf
starshaker6125.pdf
starshaker6150.pdf
starshaker6175.pdf
starshaker6200.pdf

Directions:
Step 1:
Cut shaker template from cardstock, cut out center. Score all fold lines. Cut a star from cardstock and a star from acetate plastic - both should be about 1/2" larger than the window opening.
Step 2:
Cover one side of template with desired stamp images and stamp one side of the star shaped cardstock - you will see this through the window of your card.
Step 3:
**This is the secret to perfectly centered insides!** Place a strip of scrap O'So Sticky or other on one of the narrow tabs close to the outside edge of tab. Hold your stamped card up with the front facing you. Now place your stamped star behind the window design facing the window and align. Fold over the tab so that the tape catches your square. Now it will be perfectly aligned when you are done!
Step 4:
On the back side of the template place pieces of O'So Sticky Tape (scraps are great for this!) the width of each side around cut out window, overlap if you must but do not leave any gaps or your beads will spill out!
*** TIP *** To fight static cling inside your shaker, spray glass cleaner onto a paper towel and wipe it over both sides of your acetate. Let dry completely before going to step 5.
Step 5:
Place acetate piece on top of double sided tape. Rub down to adhere. (Don't worry if it isn't completely covering the tape.)
Step 6:
Place lengths of foam mounting tape on top of acetate all the way around your star. Try to make sure pieces touch on all four edges to form a box around the window. Take the paper off of the foam tape now.
Step 7:
CAREFULLY fill center with beads - use LESS than you think you need! There should be enough room for the beads to shake back and forth when it is put together but if you put too many, it will cover your image.
Step 8:
Fold the tab with the star shaped cardstock attached in and secure to the sticky foam. Add double sided tape to the other narrow tab, fold in and secure. Add tape to the larger top and bottom tabs, fold in to secure. Now turn it over and admire your work! This card has been designed to be "finished" at this point, but if desire you can mount it on to a coordinating cardstock to make a traditional card.

