By Suzanne Glazier

- Large Plain Sticker or Label
- Rubber Stamp(s) and Ink Pad(s)
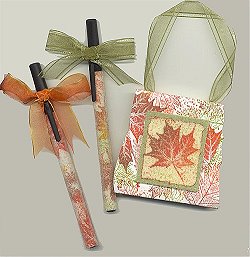
- Bic Round Stick Pen
- O'So Sticky Double Sided Tape Sheet
- Clear Glass Micro Beads (no hole) .5 mm size
To estimate supplies needed: One 6"x8" Sheet of O'So Sticky can be cut to cover 8 pens, and one 5 oz bag of clear beads can cover 25-30 pens.
Click [HERE] for a box template for your pens. Close the window to return to this page.
![[HERE]](images/tutorials/stampedandbeadedpens/pen_box.jpg)

Directions:
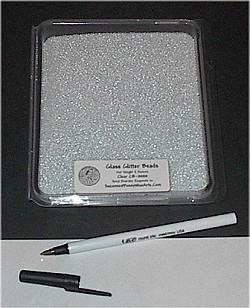
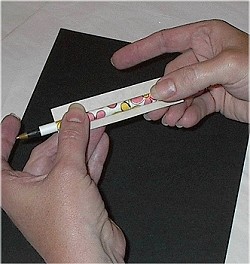
Place Clear Micro Beads into a Tidy Tray or dish. Remove the lid from the pen.
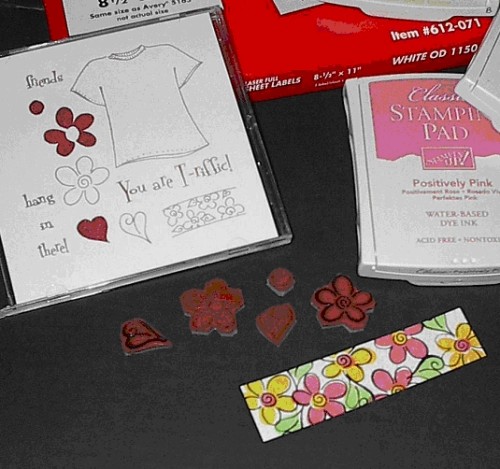
Stamp a design on the label and then cut to 4 and 1/4" by 1 and 1/32". This should be the exact size to wrap the label around the pen Lengthwise and not have an overlap.
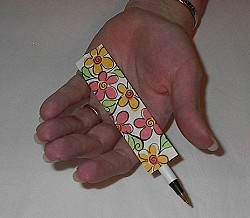
Peel off the backing and wrap it as straight and as tight as you can around the pen placing it as close to the top edge (not pointed end) as possible. This way you can still put the lid on it! A small overlap is okay.
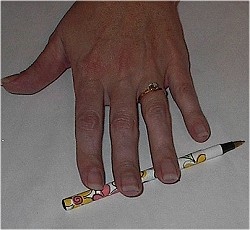
Roll it on the table to ensure that it is stuck on good!
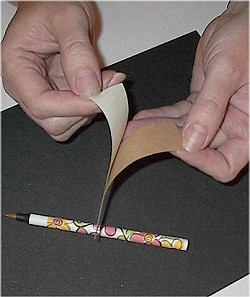
Cut the O'So Sticky Tape sheet to 4 and 1/4" by 1 and 1/16".
Step 6A:
Peel away one side of the protective liner.
Place it on the pen over the top of the label. Push it together at the joining line to be sure that there is sticky tape all the way around without a gap.

Peel away the other liner and then roll the pen into the beads by pressing firmly as you turn it making sure to fill all of the gaps and spaces. Try not to touch the tape!
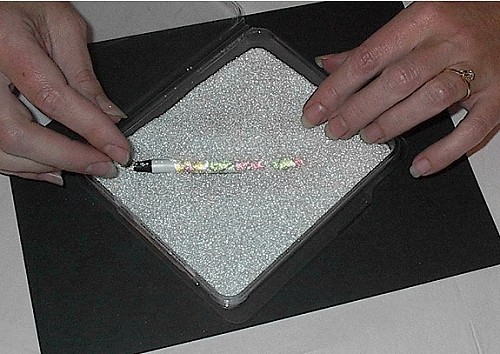
You won't be able to feel the empty spots but you can see where you need more beads if you look closely!
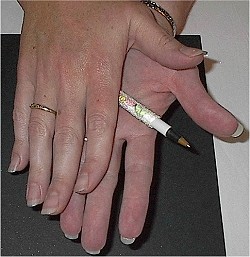
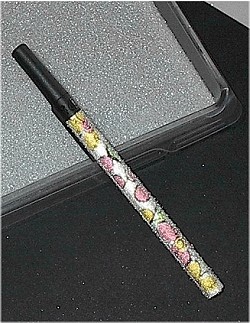
Once coated with beads, roll the pen tightly between your palms to press them into the tape and brush away any loose beads. The heat from your hands will "seat" the beads into the tape so that they will stay attached with use of the pen!
You may need to repeat Steps 7 and 8 a couple of times to get complete coverage.
PLEASE RESPECT COPYRIGHT LAWS
While we DO encourage you to share the ideas you learn here, you are not authorized to distribute this class in electronic, printed or written form without written permission from the author.
© Suzanne Glazier of Penny Wise Art Supplies
Notes From Suzanne: Making Adjustments To Fit Different Pen Sizes
These instructions are specifically tailored to fit a Bic Roundstick Pen. If you want to use another brand, all you need to do is adjust the measurements to fit THAT pen!
The easiest way to accomplish this is to start with a piece of scrap paper with the BIC measurements of 4 and 1/4" by 1 and 1/32". Wrap this paper around the pen you wish to use and see where you need to adjust!
Be sure to add a little more to the width when you are cutting your tape - as the label adds just a smidge to the diameter of the pen and if you cut the label and tape the same size, the tape will fall short of making the full circumference!
Pens that are perfectly round and not tapered will ensure the best results!
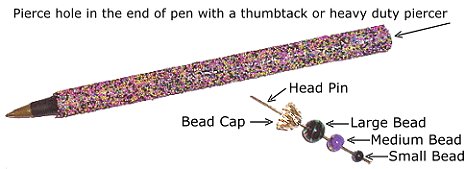
Optional Decorative Endcap