Micro Beaded Glass Blocks

By Barb Lindsey
Supply List:
- Glass Block (Glass blocks can be purchased at most building supply stores, i.e., Home Depot, Lowe's)
- Drill
- 1/2 inch Ceramic Tile Masonry Drill Bit
- Ribbon
- Hot Glue
- Graphic of your choice (You can print a graphic on regular text paper, use a pretty tissue paper, stamp your own design on text weight paper or even use a decorative napkin)
- O'So Sticky Tape Sheets & Roll
- Set of Christmas Lights (Depending on the size block anywhere from a string of 20 up to a string of 50. Look for them at a dollar store)
- Micro Beads Clear

Notes:
Remember that O'So Sticky Tape likes to be warm! It's a good idea to heat the surface of your block with a heat tool before you add the tape for best adhesion of micro beads.
If your graphic is very fine in detail, you might want to use the Ultra Fine size of micro beads. This will keep the image from distorting too much!
Instructions for cutting the hole provided by Barb's dh:
CAUTION: Use safety glasses; wear protective clothing, and a respiratory mask. Glass flakes are not good for the human body. Also, these blocks do shatter easily, so be careful! Barb's dh uses a drill press with a 1/2 inch Ceramic Tile Masonry drill bit. Set the drill press at the lowest speed. GO SLOW AND STEADY. When the bit cuts into the block there is an intake of air. At this point use a Dremel tool with a Ceramic Tile Masonry bit to enlarge the hole to the desired size. 1/2 inch. (Big enough for the string of lights to go in and out). There will be glass dust in the block you can rinse it out with water and drain.
Directions:
Step 1:
Clean surface of glass block with alcohol. If you want to clean the sides you can, but the ribbon will cover them.
Step 2:
Lights. Remember to test your lights before using them. Feed the string of lights into the block leaving the plug on the outside. If you like you can try to manipulate them with a dowel to distribute them more evenly.
Step 3:
Measure the surface of the block to size your graphic. Remember that the lights shine through the graphic. For best results avoid dark colors and too much of one color. Center your graphic on your block and apply with adhesive of choice. Make sure you burnish it down good.
Step 4:
To apply micro beads, put O'So Sticky Tape over the image and pour beads onto it. It's good to use a tray to catch them in!
Step 5:
Finish your block with a ribbon if you like. Or you can add any embellishments. Wrap the ribbon around the block and attach it anyway you like. (Hot Glue works great!) Then make a pretty bow for the top.
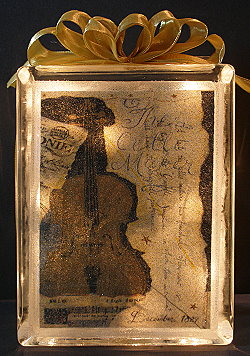
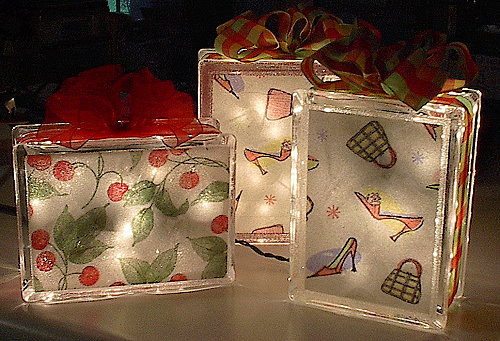
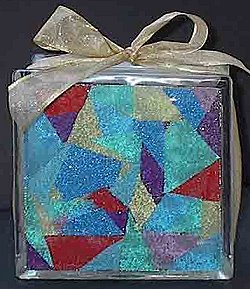
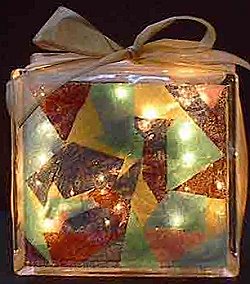
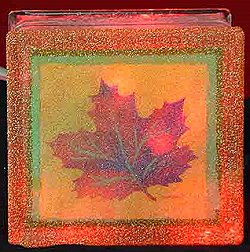
Examples
Suzanne Glazier
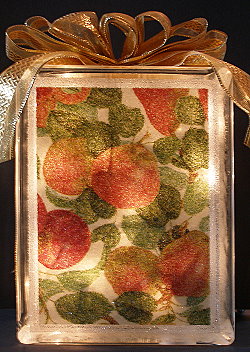
Suzanne Glazier
Kelly Morrison
Kelly Morrison
Lisa Heulser