Bed of Beads Stamping

By Michele Aiello-Zendejas

Supply List:
- Cardstock (colors of your choice)
- Bold Rubber stamp, without a lot of detail
- StazOn Ink (color of your choice, dark shades work best)
- Coordinating color permanent marker
- Pennywise Arts Micro Beads (solid color of your choice, opaque or translucent, light colors work best)
- Pennywise Arts O'So Sticky Tape Sheets
- Flat back gems and/or other embellishments such as punched shapes, buttons, etc.
- Tidy Tray or something to catch the micro beads when you pour them onto the O'So Sticky Tape
- Brayer
- Paper Trimmer

Directions:
Step 1:
Gather your supplies. Choose the rubber stamp you want to use and cut a piece of O'So Sticky Tape to size. Choose coordinating cardstock and cut to the size you need to layer and decorate a card.
Gather your supplies. Choose the rubber stamp you want to use and cut a piece of O'So Sticky Tape to size. Choose coordinating cardstock and cut to the size you need to layer and decorate a card.

Step 2:
Peel off one side of the tape and adhere it to a piece of cardstock cut to the same size. Pull off the liner and cover it with micro beads. Brayer the beads in so they are embedded into the tape.
Peel off one side of the tape and adhere it to a piece of cardstock cut to the same size. Pull off the liner and cover it with micro beads. Brayer the beads in so they are embedded into the tape.

Step 3:
Stamp directly on top of the bed of micro beads with StazOn ink.
Stamp directly on top of the bed of micro beads with StazOn ink.

Step 4:
Use a permanent marker to color the edges of the "Bed of Beads". You can also run the edges against your ink pad. Use the marker to fill in any areas of the stamped image that did not print well. Use a pouncing motion when you apply color. If you try to color the micro beads like you are coloring paper, you will end up accidentally removing some of the micro beads.
Use a permanent marker to color the edges of the "Bed of Beads". You can also run the edges against your ink pad. Use the marker to fill in any areas of the stamped image that did not print well. Use a pouncing motion when you apply color. If you try to color the micro beads like you are coloring paper, you will end up accidentally removing some of the micro beads.

Step 5:
Apply flat back gems and/or any embellishment you would like.
Apply flat back gems and/or any embellishment you would like.

Step 6:
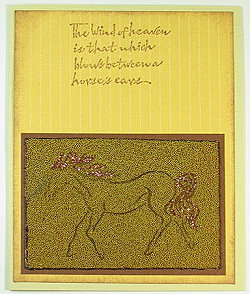
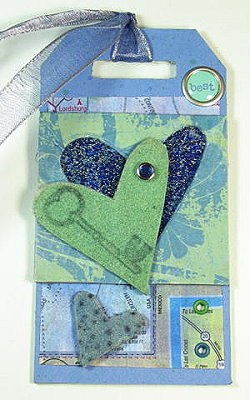
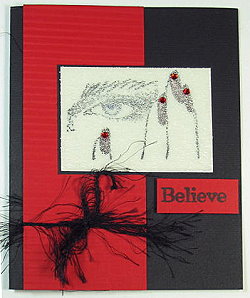
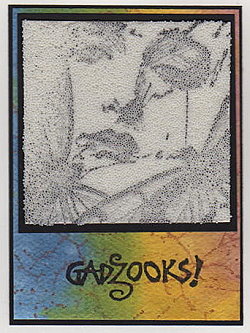
Your completed images will look similar to these:
1. White cardstock, light green opaque PWA micro beads, and black StazOn.
2. White cardstock, white opaque micro beads, and black StazOn.
3. White cardstock, light lavender translucent micro beads, and black StazOn.
2. White cardstock, white opaque micro beads, and red StazOn.

Step 7:
Cut a piece of cardstock about 1/4" larger than your bed of beads. Edge with a permanent marker or ink pad. Layer as desired.
Cut a piece of cardstock about 1/4" larger than your bed of beads. Edge with a permanent marker or ink pad. Layer as desired.

Step 8:
Layer image as desired to create a card.
Layer image as desired to create a card.

Examples
Michele Aiello-Zendejas
Michele Aiello-Zendejas
Michele Aiello-Zendejas

Diane Young

Jennifer Toussaint

Evelyn Spikes

Suzanne Glazier
