Beaded Tins

By Evelyn Spikes
Supply List:
- Painted Tin
- Sheet of O'So Sticky Tape, 3/8" or 1/2" O'So Sticky Tape, 1/4" O'So Sticky Tape
- Accent Beads
- Marbles and/or Charms
- Micro Beads


Directions:

Tip:
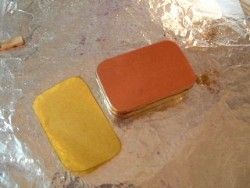
White or silver tin, use silver beads. Gold tin, use gold beads. Your own choices! Keep in mind that beads cover better when the base color coordinates with the bead color. Opaque beads cover best. Stamp slide mount with design of your choice.
Step 1:
Turn tin upside down on a piece of O'So Sticky Tape, and with a fine point Sharpie or other permanent pen that will write on the paper liner, trace the shape of the lid. Cut it out.
Step 2:
Carefully peel back one corner of the O'So Sticky Tape liner and adhere to a matching corner of the lid. Line up your edges and peel the remainder of the liner while pressing down the O'So Sticky Tape. Press out any air bubbles.
Step 3:
Peel off top liner and place tin in a container to catch stray beads. Place marble(s) or charm where you desire (a corner is probably best).
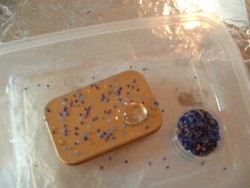
Step 4:
Sprinkle some texture beads (seed and/or bugle) over the lid.
Sprinkle some texture beads (seed and/or bugle) over the lid.
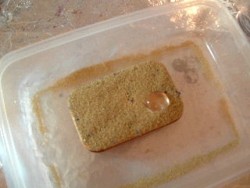
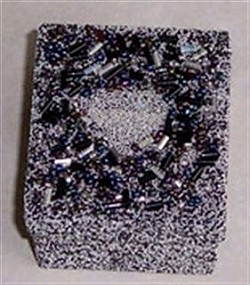
Step 5:
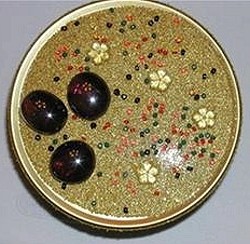
Pour chosen color of micro beads over lid, being certain to cover all exposed O'So Sticky Tape. Photo 3
Pour chosen color of micro beads over lid, being certain to cover all exposed O'So Sticky Tape. Photo 3
Step 6:
With lid closed, use 3/8"or 1/2" tape to cover bottom edge of tin, butting ends of tape together where they meet.
Step 7:
Using 1/4" tape, cover edge of lid from protruding rim to top edge. Any overlap is okay.
With lid closed, use 3/8"or 1/2" tape to cover bottom edge of tin, butting ends of tape together where they meet.
Step 7:
Using 1/4" tape, cover edge of lid from protruding rim to top edge. Any overlap is okay.
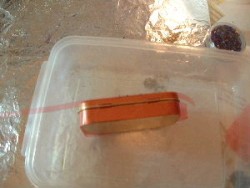
Step 8:
Place tin in a container with sides and pour micro beads over top and sides, covering all exposed tape. Press to seat beads. Project complete!
Place tin in a container with sides and pour micro beads over top and sides, covering all exposed tape. Press to seat beads. Project complete!
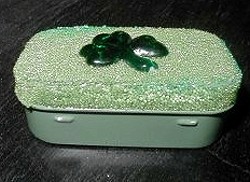
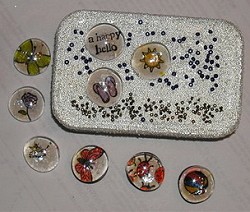
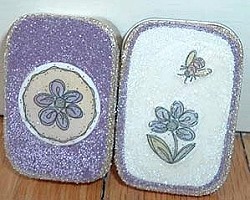
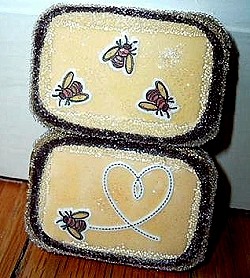
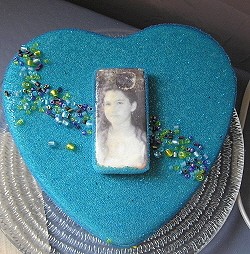
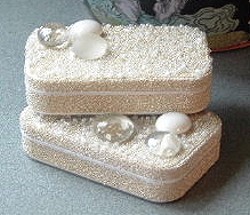
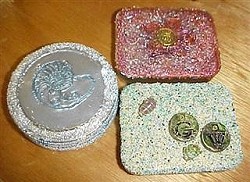
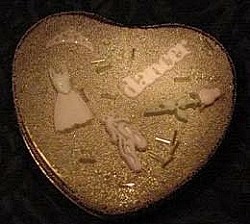
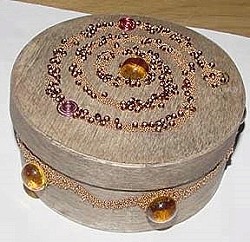
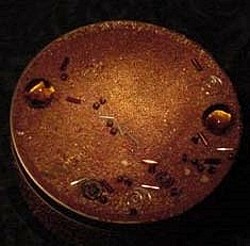
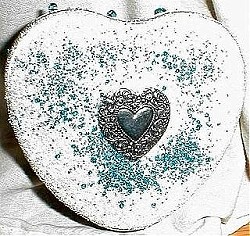
Examples
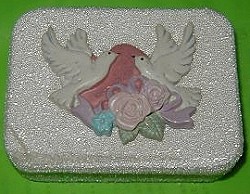
Barb
Barb
Bridget

Bridget
Fly Di
Camela
Camela
Corinne
Evelyn
Fly Di
Georgia
Jean
Jean
Jean
Marianne