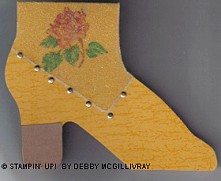
Beaded Shoe Cards

By Debby McGilvray
Supply List:
- Beaded Shoe/Boot Template [HERE]
- O'So Sticky Sheet
- Clear Micro Mini Beads
- 1 sheet of Cardstock
- scrap of brownish color CS for heel
- 7 brads
- gold paint pen or leafing pen or a marker to match cardstock
- Chalks or watercolor pencils to color in image
- Blender pens ( optional) used with watercolor pencils
- Stamp Set of Choice
- Background Stamp of Choice
- Ink Pad in color of Cardstock for background
- Black or a Brown color for image stamping
- Scissors

Directions:
Step 1:
Cut out Pattern on cardstock and fold in half to make card.
Step 2:
Place the top cut out piece over top - ink up background stamp. Stamp image on lower half of boot.
Step 3:
Trace around heel of boot onto cardstock in close to cocoa. Add to heel of boot.
Step 4:
Stamp image in upper half of boot area to be beaded or glittered.
Step 5:
Cut top half of boot out on clear sticky sheet tape. Hint: Cut a little larger so you can trim off some incase you don't get it even. Peel off back and place on upper half of boot.
Step 6:
Mark around sticker area for seam, I did mine in gold paint pen. Then with a long reach punch punch just below the seam mark for brads. You will punch approx a thumb width apart. I ended up using 7 brads.
Step 7:
Peel off top of sticker sheet tape & add clear beads or clear glitter.
Step 8:
Add brads to punched holes and your done.
Optional:
If you don't want the brads showing on the inside cut out another boot single one and glue or tape to inside. These turn out cute and fit in a larger envelope than our normal size envelope. My card finished measures 5" high by 6" wide.
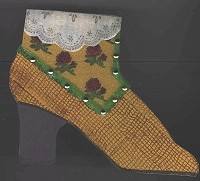
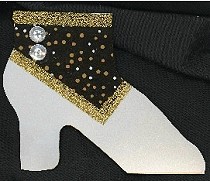
Examples
.jpg)
Marianne Colschen
.jpg)
Jane Marchand
Kathi Hall
Stephanie Loomis
.jpg)
Diane Raschal
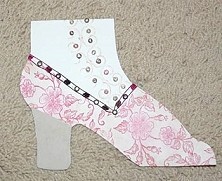
Julie Outericky